Why most “art” QR codes fail in print, and how to make one that actually scans
AI generated QR codes look great on a monitor and fail on a poster. Here is how we approached the design problem of weaving a real photograph into a working QR code without ruining the portrait or breaking the scan.
Every designer and marketer has felt the same frustration with QR codes. You spend hours perfecting the typography, layout and photography of a poster, badge or campaign card, only to slap a harsh black and white barcode in the corner like a price tag.
Over the last couple of years, two workarounds became popular: AI art QR codes and halftone dot QR codes. Both look impressive in a screenshot on X, and both regularly become a nightmare the moment you send them to a commercial printer.
When we set out to build the Photo QR Code tool on QR Code Spot, we didn't want another novelty generator that only scans on a bright monitor at arm's length. We approached it as a real design and print problem: what actually makes a visual QR code fail in the wild, and what does the experience need to look like so anyone can make a reliable one in thirty seconds?
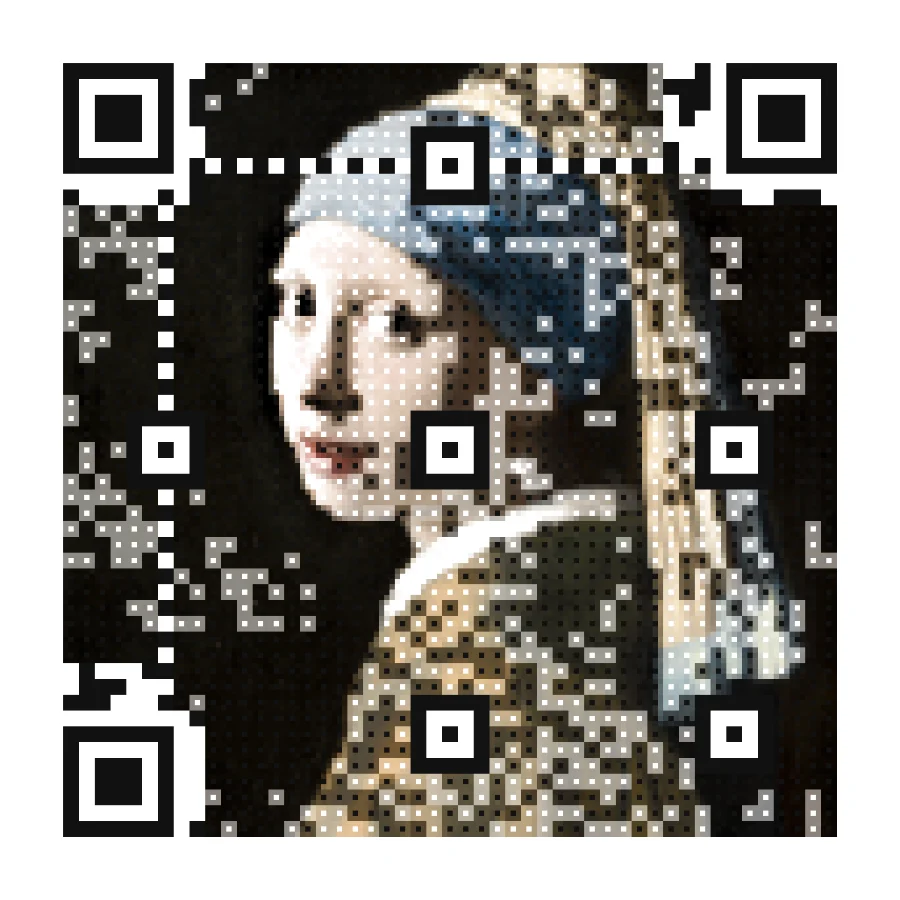
Problem 1: the “square on the eye” portrait problem
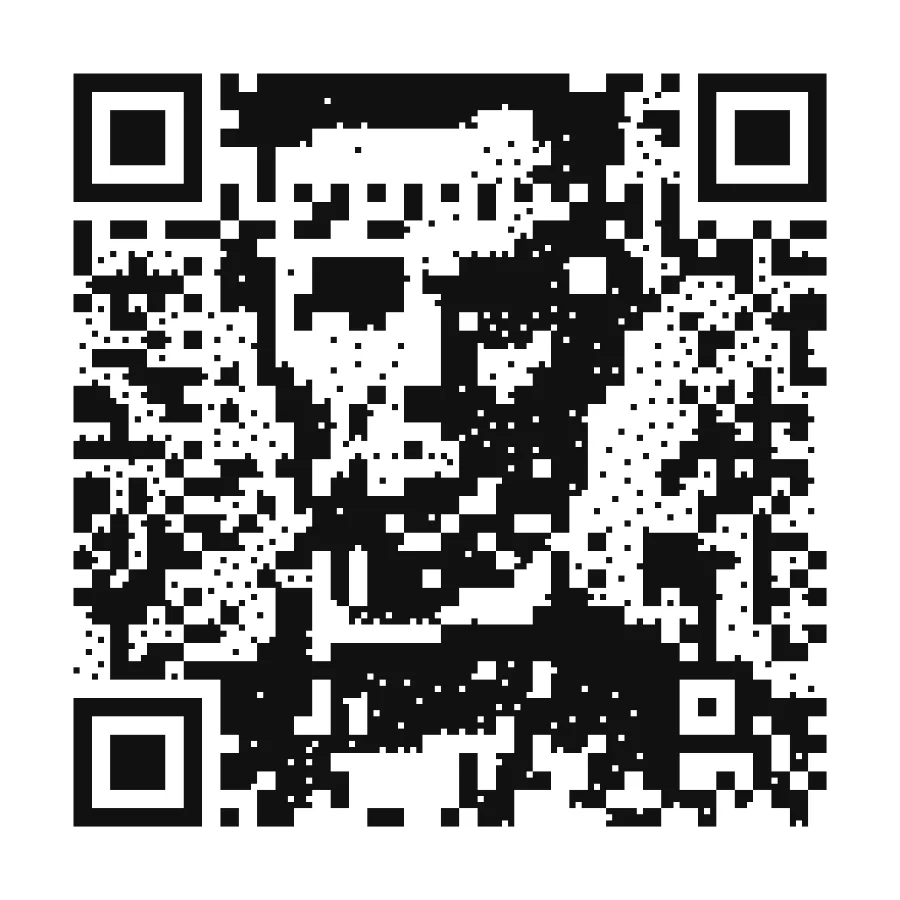
If you drop a portrait into a traditional halftone QR generator, the tool lays a fixed grid over the face. Every QR code needs three large corner squares (finder patterns) and smaller alignment squares inside to orient the camera, and one of those solid blocks often lands right on a person's eye or mouth.
Our brains are wired to read faces first. You can dither a jacket or a background into coarse dots and still recognize the person instantly, but if a dark alignment square sits over a pupil, the portrait looks broken.
The fix: framing that knows where the face is
Instead of making people open Photoshop, nudge their crop by two millimeters, upload again and hope the grid misses the eyes, we built face awareness directly into the canvas:
- When you drop in a photo, the tool finds the face and automatically shifts the framing just enough so the fixed QR squares stay clear of the eyes and mouth.
- You can tap any spot, such as a face, to make it the focal point, then use the Face size and Face detail sliders to keep facial features crisp while the background around it carries more of the code pattern.
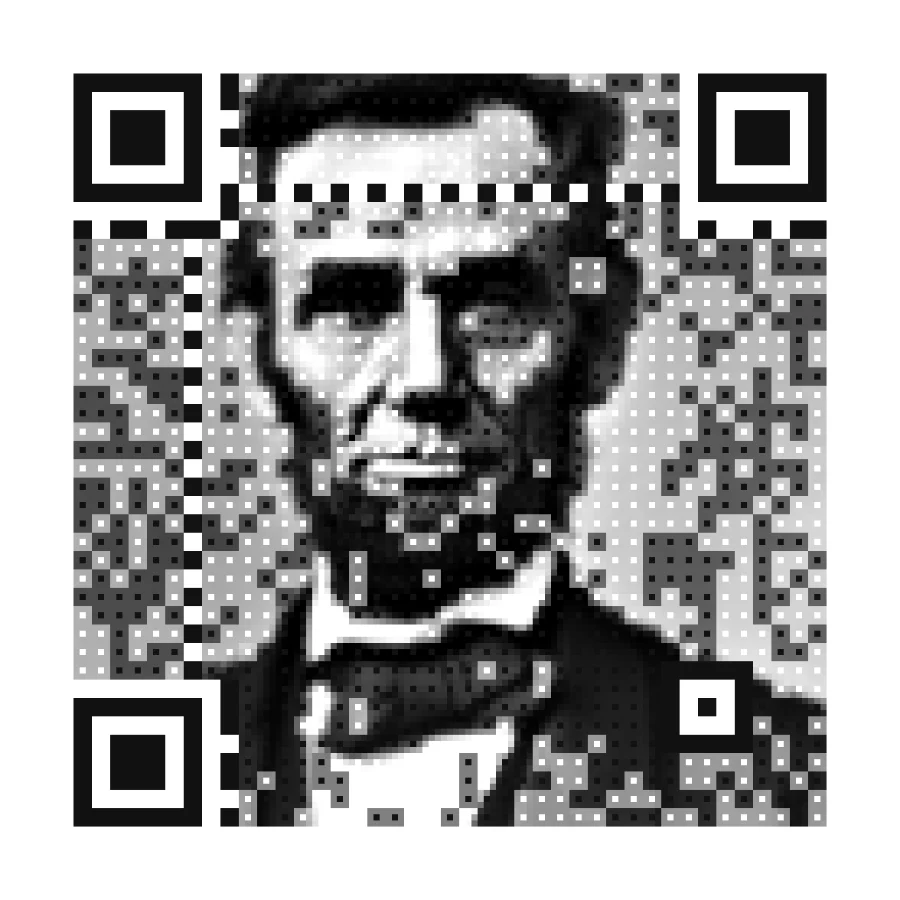
Shifting has a limit, though. Every QR code of 45 × 45 squares or more has an alignment square in its exact centre, and when a face fills the middle of the picture, as it does in most portraits and ID photos, no amount of shifting gets it out of the way. So when that square would still land on the face, the tool switches to 41 × 41 squares, the largest size with no centre square at all, and tells you it did. The only fixed squares left are in the corners, well away from the face.
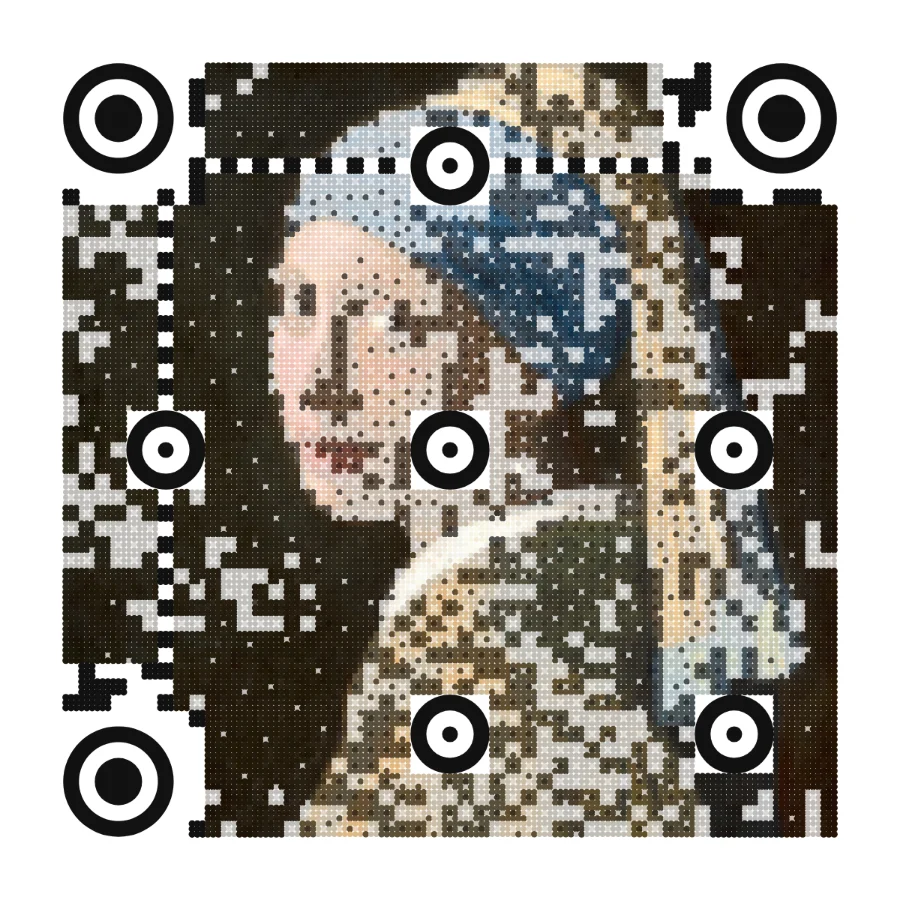
Faces don't have to look straight at the camera either. A face turned to the side, like the one in Vermeer's painting below, is found and protected too.
Problem 2: why short links make clearer pictures
Most people assume the visual clutter of a QR code depends only on the image filters you apply. In reality, it depends on how much text you make the code store.
When you paste a long website link with tracking parameters, almost every square in the grid is locked down by that text. When the link is tiny, a large part of the grid is just filler space.
Instead of filling that spare space with random noise that fights your photograph, the engine arranges those spare squares so they match the light and dark shades of your picture. That way, the code doesn't have to use up its built in error correction just to make the photo visible.
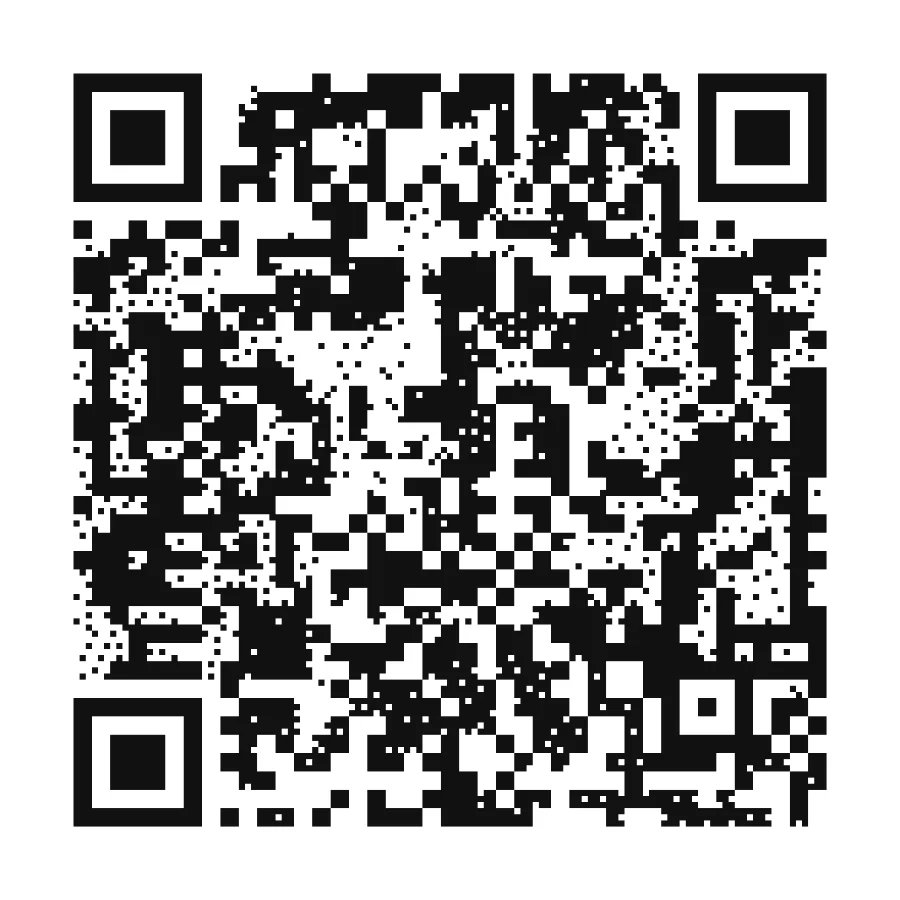
To make this effortless, we added a single button: “Shorten it for a clearer picture” (free account needed).
With one click, it turns a long URL into a short QRSX.NET link of just 3 to 5 characters, in capitals. QR codes have a compact mode for capital letters and digits that uses about 30% fewer bits per character, and these short links fit it entirely. The link takes up almost no room, which gives the image engine far more freedom to render smooth tones. It's also an editable code in your account, so you can change where it goes later and see how often it's scanned.
Problem 3: a phone camera is not a laser scanner
Why do so many dithered QR codes work on a laptop screen during a design review, then fail when printed on a coffee cup or lanyard?
Optical blur.
In a photo QR code, every grid square is split into a 3×3 block of tiny cells. Only the center cell holds the code's actual black or white data. The outer eight cells paint the photo. On a sharp screen, that center dot is easy to read.
In the real world, phone cameras are often slightly out of focus, tilted at an angle or dealing with paper glare. When the lens blurs slightly, the eight photo cells around the center bleed into it. If eight bright photo dots surround one dark code dot, the blur averages them into light gray, and the camera fails to read the code.
The fix: an 8 test safety gate
We decided that nobody should have to guess whether their design will scan, or print a test sheet just to find out it's broken.
Every time you move a slider or change a style, the browser quietly runs 8 simulated phone camera tests: small print sizes, out of focus blur, harsh glare and camera noise, each read by two separate scanner engines.
If a test fails, Blur Safety steps in automatically, in up to 7 progressive stages. It nudges the picture cells around each code dot toward the code's shade, and as a last resort uses bigger code dots, until all 8 tests pass. If no stage passes, the Download button stays locked, so you can't export a code that fails the tests.
Built for print designers (and your privacy)
Different print surfaces call for different visual treatments, so there are four rendering styles, all held to the same 8 test gate:
- Full colour: keeps the continuous tones and palette of the original photograph.
- Colour dots and Black and white: clean, simple geometry.
- Halftone print: a classic one ink newspaper or screen print look, where each dot's size follows the darkness of the photo. Pick any dark ink colour.
And for any style, the Round dots option turns the photo and the code into one even grid of circles, with the corner squares drawn as bullseye rings.
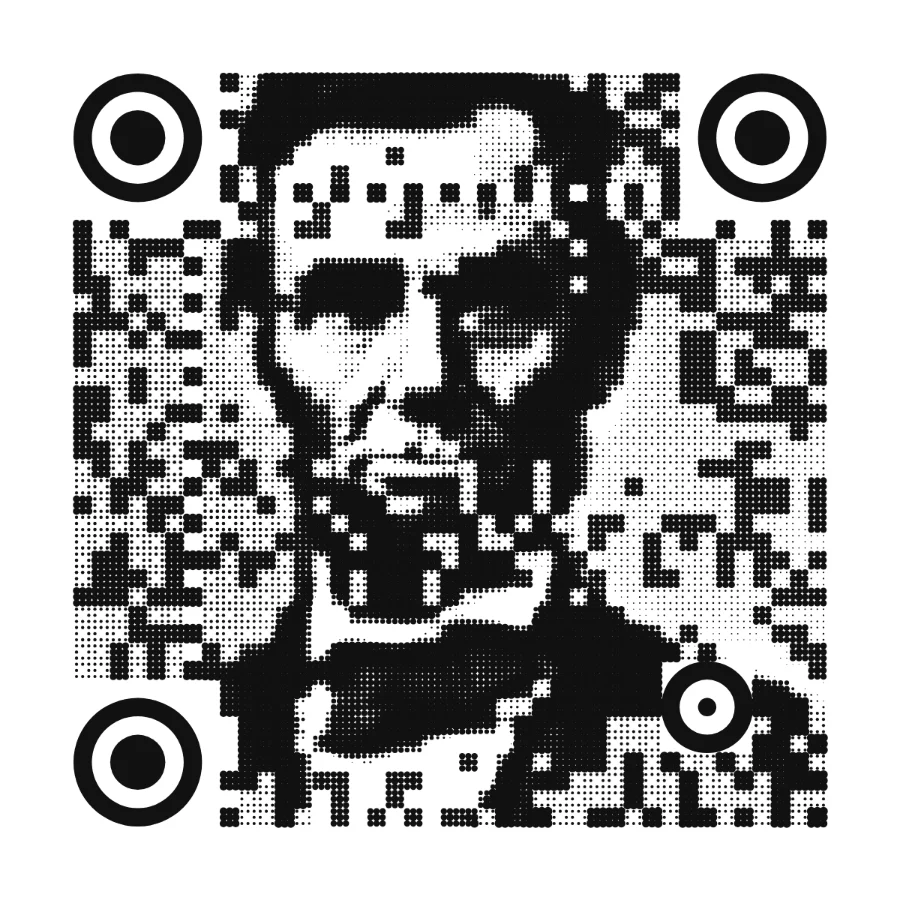
The page also tells you the smallest safe print size for your exact code, since round dots, halftones and extra detail need a little more room.
Photo QR is a free beta, and free downloads carry a small QR Code Spot badge. For print work, paid plans download 2400 px PNGs without the badge, plus true SVG vectors for every style except full colour with square dots.
Your photo is never uploaded. Whether you're working with an official portrait, a family wedding photo or an unreleased brand campaign, the whole image process runs locally inside your browser tab.
The engine builds on two published techniques: the halftone QR method of Chu et al. (2013), and Russ Cox's QArt approach to choosing a code's spare bits.
Photo QR was built with the help of AI coding tools, which made it possible to turn ideas from research papers into a working, tested tool quickly.
Try it with your own photo
You can test it right now with your own portrait, or try it with three public domain paintings from The Met (The Great Wave and two Van Goghs) built right into the page.
The example codes on this page were made with the tool and passed its 8 scan tests; they open qrcodespot.com. Pictures: Girl with a Pearl Earring by Johannes Vermeer, c. 1665, Mauritshuis, The Hague (public domain). Abraham Lincoln, photograph by Alexander Gardner, 1863, Library of Congress (public domain).
Make a photo QR code
Free while it's in beta. Your photo stays in your browser.